

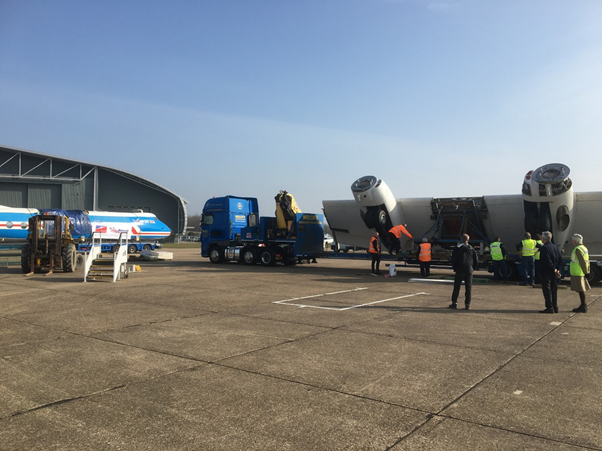
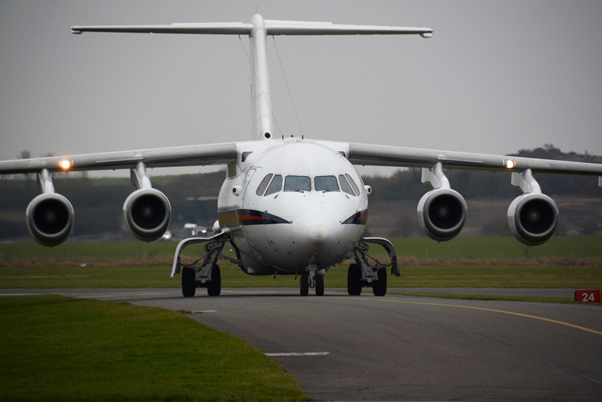
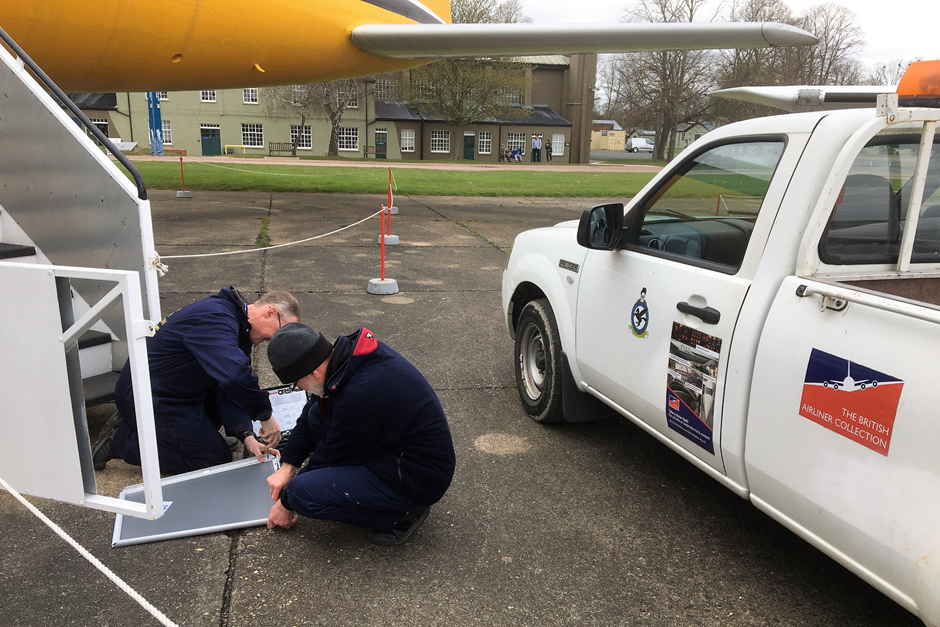
Just a short update on the engineering goings on here at the British Airliner Collection. The Herald has, after 37 years with us, departed to its new home in Scotland. The final weeks of its stay here saw mainly contractors working on dismantling her but when it came to loading her up on the two low loaders from Welch’s transport there was a small DAS involvement. Peter Archer, Dave Swann and Mark Webster were all on hand to liaise with Welch’s guys to see she was safely loaded up for her trip North. Once she had left Duxford it was all hands on deck to clear away the old tyres, cushions, pallets and mattresses that the dismantled parts had been sitting on. We now await the arrival of the replacement engines and other parts from Australia so we can get our hands on the BAe146 once the parts have been swapped out by Pionair’s contractors. These parts should have arrived by now but as yet there is no sign of them, fingers crossed they will get here soon as there is plenty of work for the DAS volunteers to do before the 146 can be opened to the public. We have however obtained a set of passenger steps for the 146 but these are somewhat damaged and require work before they can be used. We need an additional set, so if anybody out there knows of a set we could have please get in touch.
Meanwhile the cleaning operation has been continuing with all the AirSpace aircraft we were asked to clean finished and the DAS volunteers have now moved into the American Air Museum to attend to some aircraft in there such as the B-17, B-24, F-111 and F-4 Phantom. If you fancy getting up close and personal to these iconic aircraft remember there are no joining or membership fee to pay this year if you join our band of volunteers, interested? Phone Tuesday-Thursday on 01223 836593 for details.
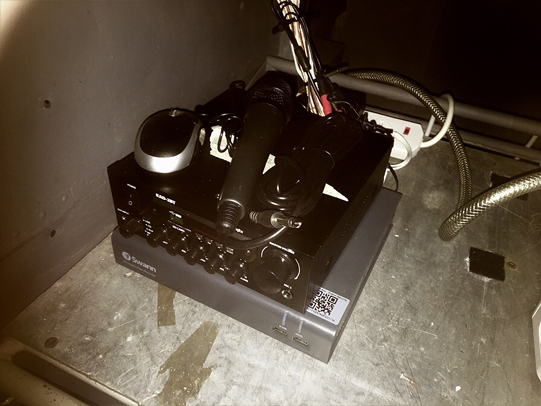
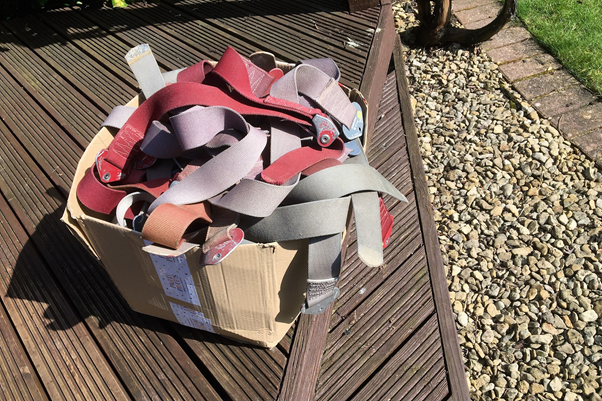
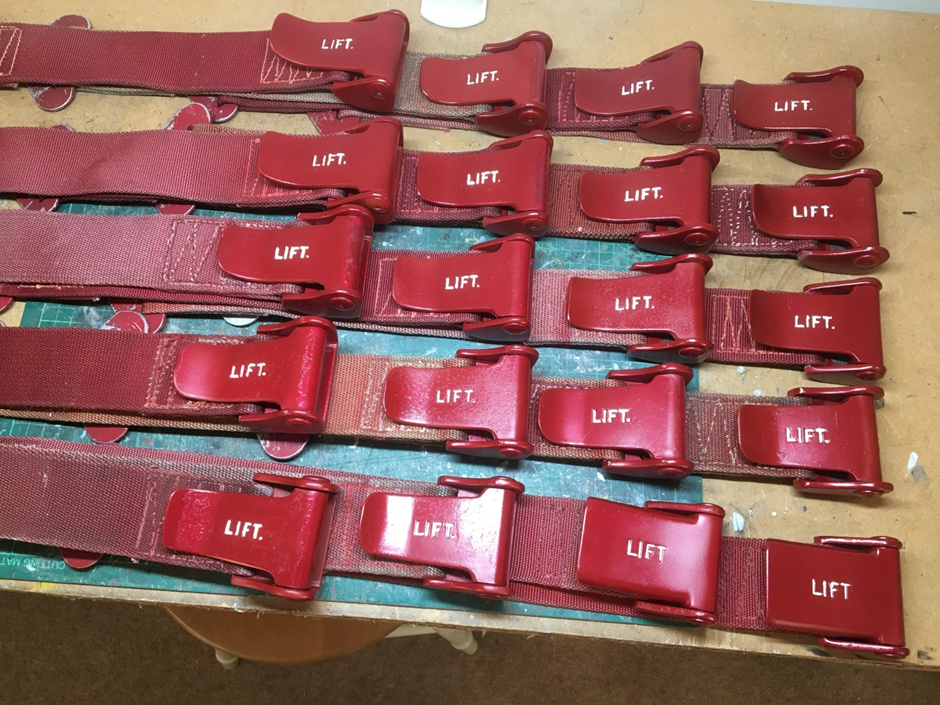
Work also progresses well on the Viscount cabin renovation with the CCTV installation coming along and many seats now recovered in new upholstery. When these were looked at, the seats looked great but the old seat belts looked rather shabby, dirty, had chipped paint and were mismatched on the seats (there are red and grey belts). It was decided therefore to renovate the belts the best we could as 1950s replacements at a reasonable price are not available. One of our volunteers offered to do the job but what sounded like a quick easy job turned in something else as we will now explain.
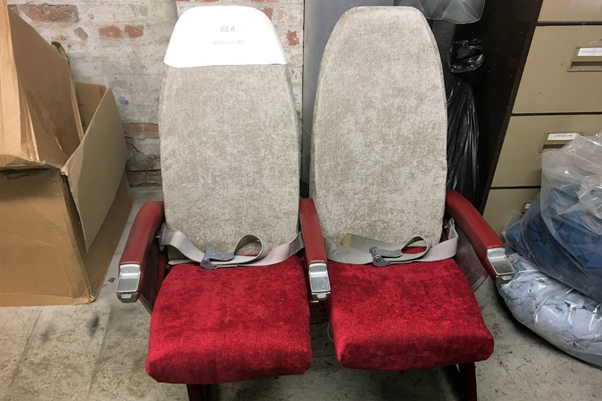
There are 55 seats on our Viscount all with a seat belt that is made up of a buckle strap and a plain strap, that makes 110 seat belt parts to deal with. Unlike modern aircraft where the belts just clip to the seat, on the Viscount the belts are bolted to the frames with 2BA nuts and bolts. That’s 110 nuts and bolts to undo just to remove the belts.
Each belt was then checked for flaky paint which was removed by brushing and sanding as necessary, that was 110 belts to check each with a mounting plate plus 55 buckles, that’s 165 parts to check for damaged paint.
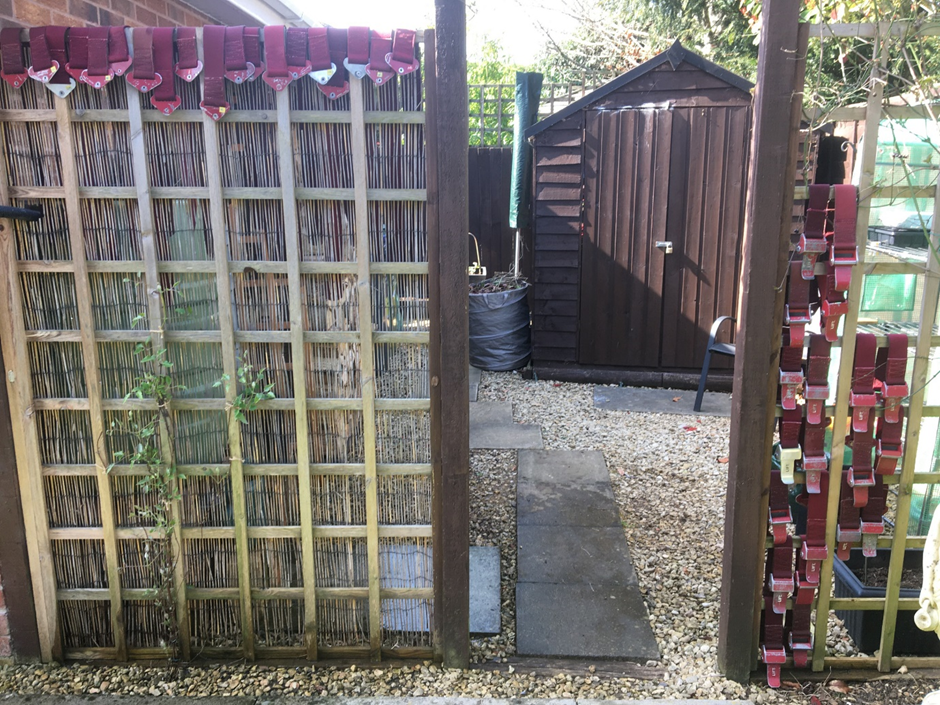
Each individual belt was then subjected to a cleaning process which involved spraying each side of the belt with foaming cleaner, scrubbing each side, jet washing each side then rinsing in a bucket of water before hanging out to dry. That’s 220 sides.
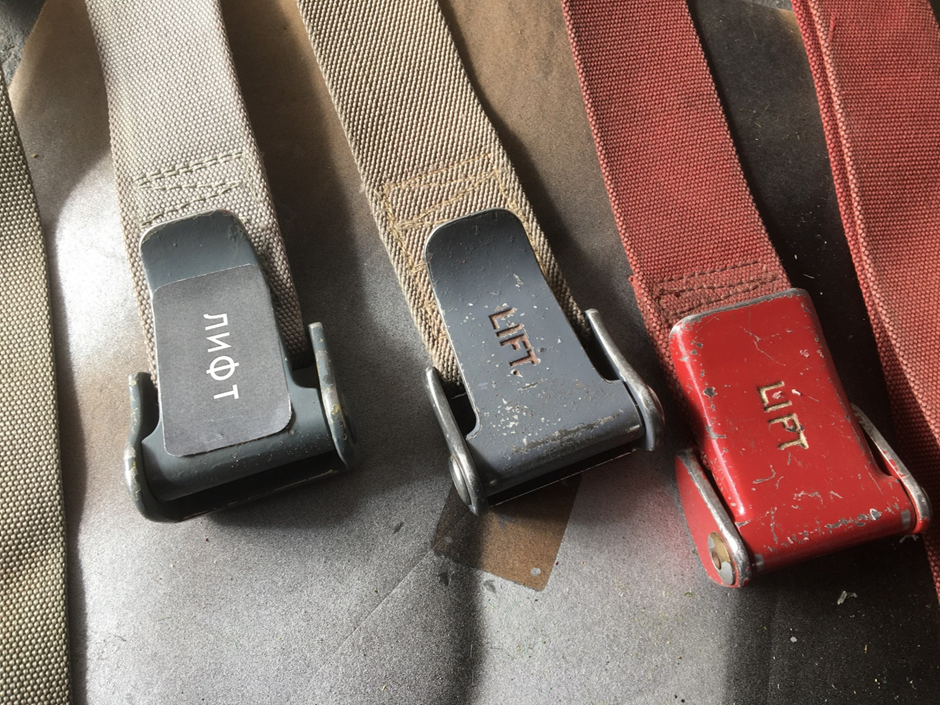
After drying it was necessary to mask up the webbing as being sewn onto the buckles and mounting plates, this couldn’t be removed. Two plates and one buckle per seat gives 165 ends to mask. Painting could now commence with each plate/buckle being sprayed in primer first on one side then left to dry before turning over and spraying the other side. The buckles then had to be closed to reveal a small part that needed further spraying. After this was all dry the process was repeated with either top coat for the red belts or lacquer for the grey ones. That’s 495 spraying applications. Finally each buckle had the ‘LIFT’ legend repainted by hand, all 55 of them.
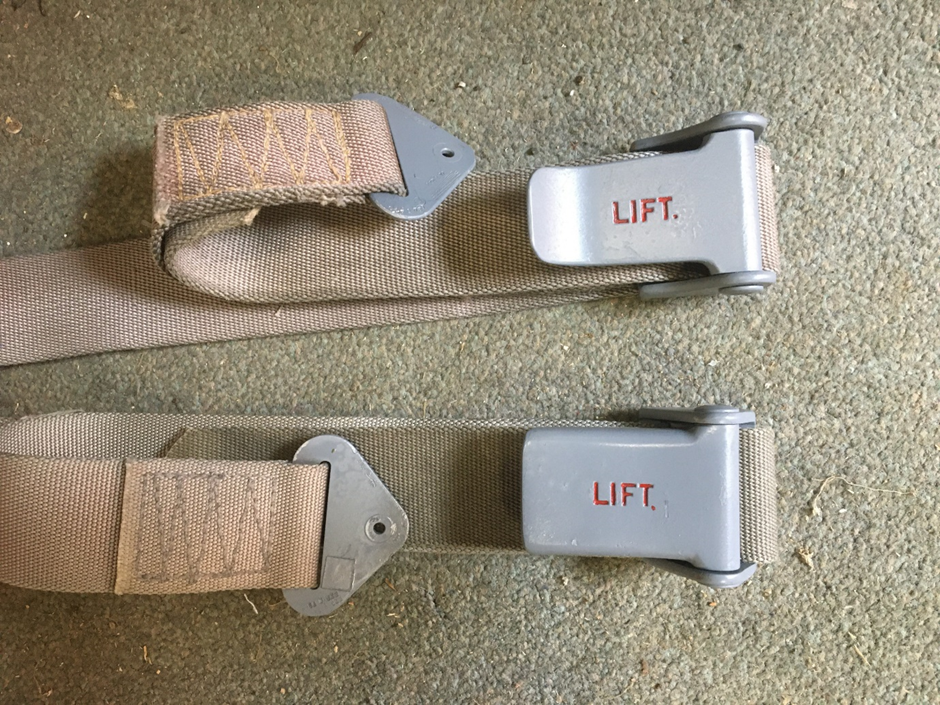
Finally any stiff buckles were lubricated with WD-40 and the belts were good to go back on the seats just 110 2BA nuts and bolts to go!
As you can see even what sounds like a simple job takes a long time, this is why some of our restorations take many years to complete.
Back in the Viscount cabin the carpet has now been loose-laid and cut to size. Final fitting will take place once the side walls have been re-covered. This can’t happen until the weather warms up or the glue will not dry. John Overhill, the Viscount’s Custodian, has also taken the opportunity to install a new double socket mid- cabin to allow the use of a cooling fan when WF is open to the public in the summer.
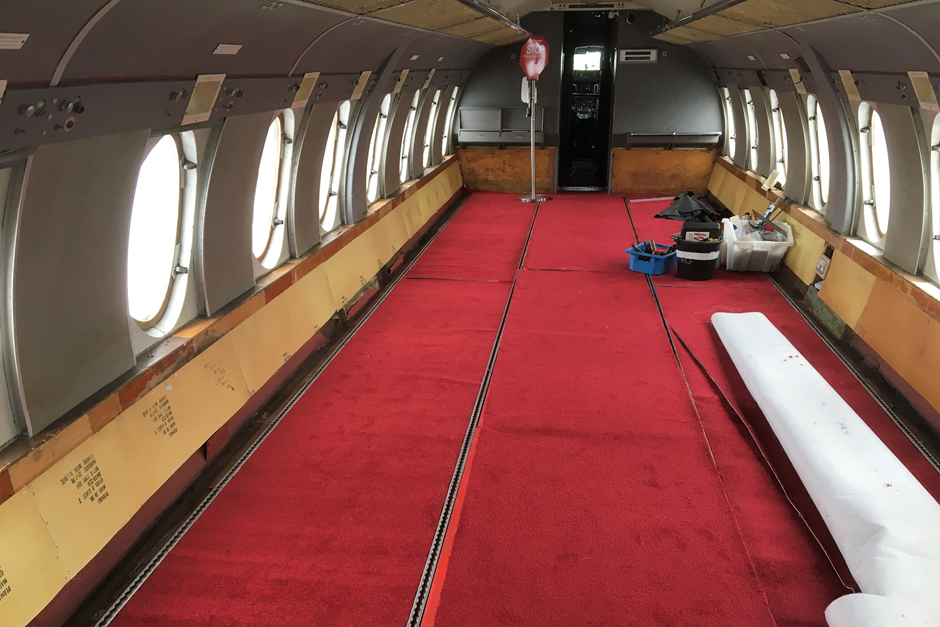
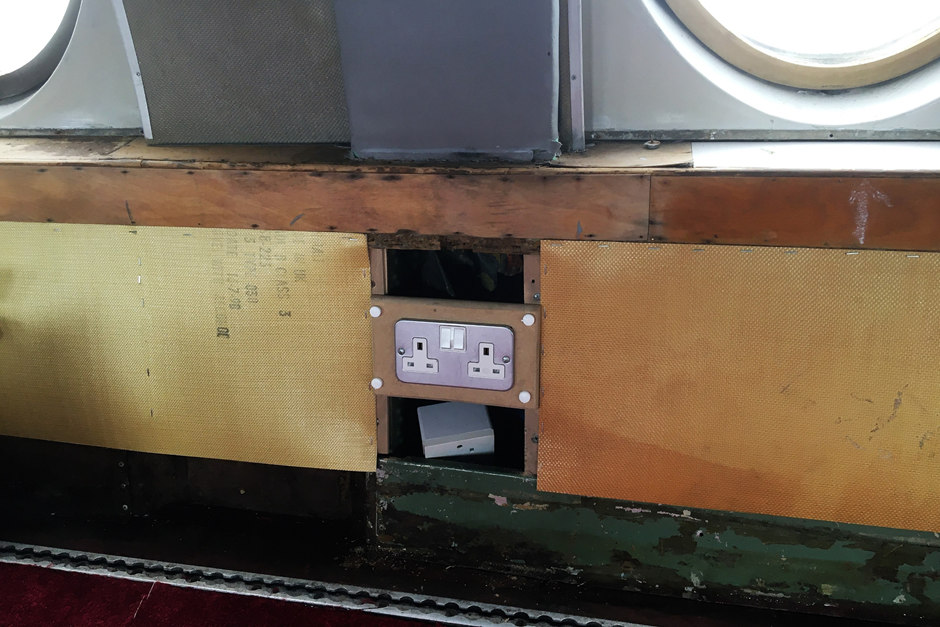
The cabin with its new carpet and plug socket. The side wall panels have all been replaced and will be recovered in vinyl once the weather warms up. Photo: Keith Bradshaw
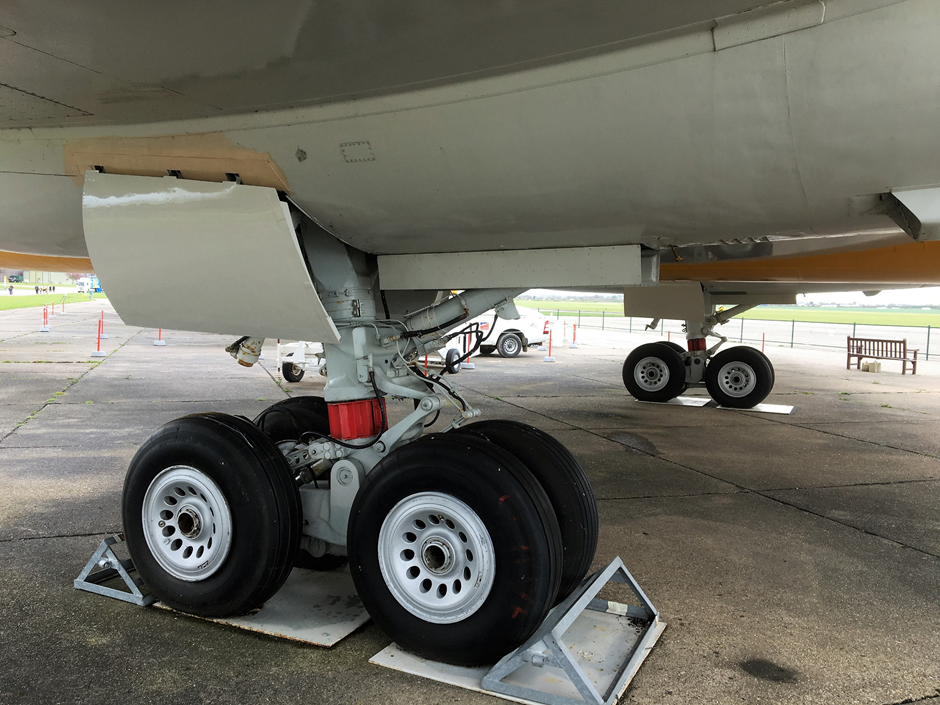
Despite all this work on the Viscount the other planes haven’t been forgotten and finally the Britannia main undercarriage doors have been refitted following their rework in the workshops to remove the usual corrosion and repaint.
Here at DAS its not just the planes that need constant attention - all the bits and pieces that we need to display them to the public also need looking after. A good example is the signs we have by each aircraft telling the public if the plane is open or closed for viewing and other important information. Over the years we have tried making these of wood (rotted), steel frames with a hanging sign (sign clips broke in strong winds or from kiddies swinging them). Solid aluminium backs fitted with signs attached (not weatherproof). So this year’s plan sees the signs replaced with waterproof frames into which you can clip your poster/sign etc. Let’s hope these work!
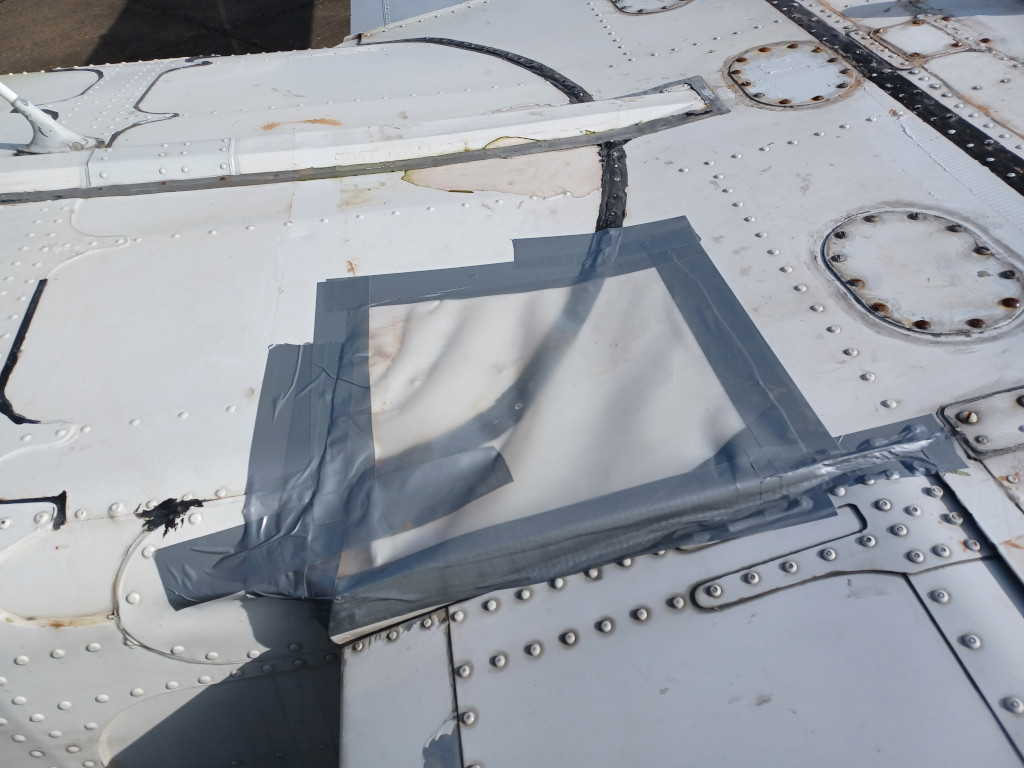
The Trislander custodians have also been pressing ahead with refurbishment work on their aircraft. Those of you who have been to Duxford recently may have noticed a lot less plastic on the centre section. By slowly reducing the amount of covering we are hoping to identify the source of the water leak into the fuslage. As you can see in the photograph this is not a new issue and Aurigny have plugged several gaps in the past!
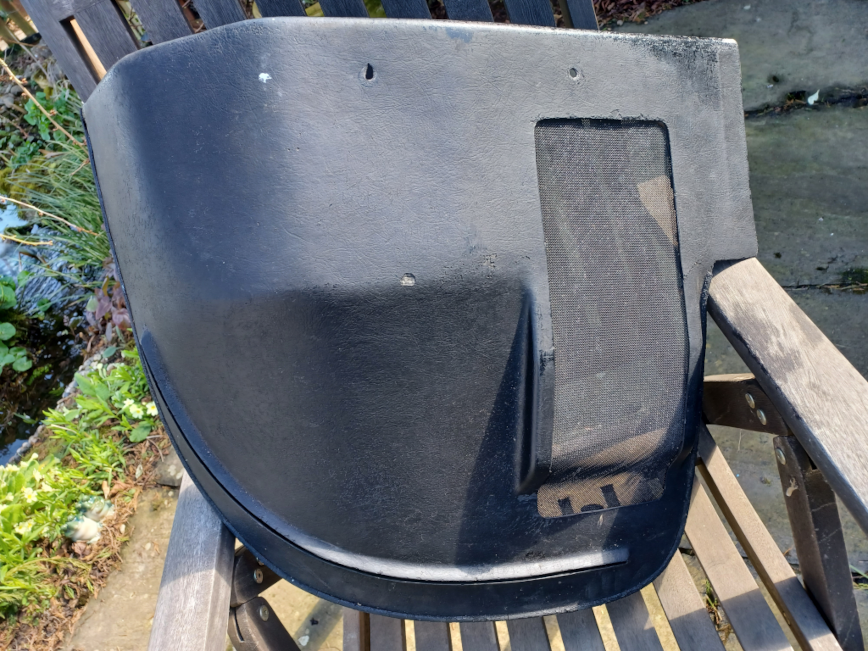
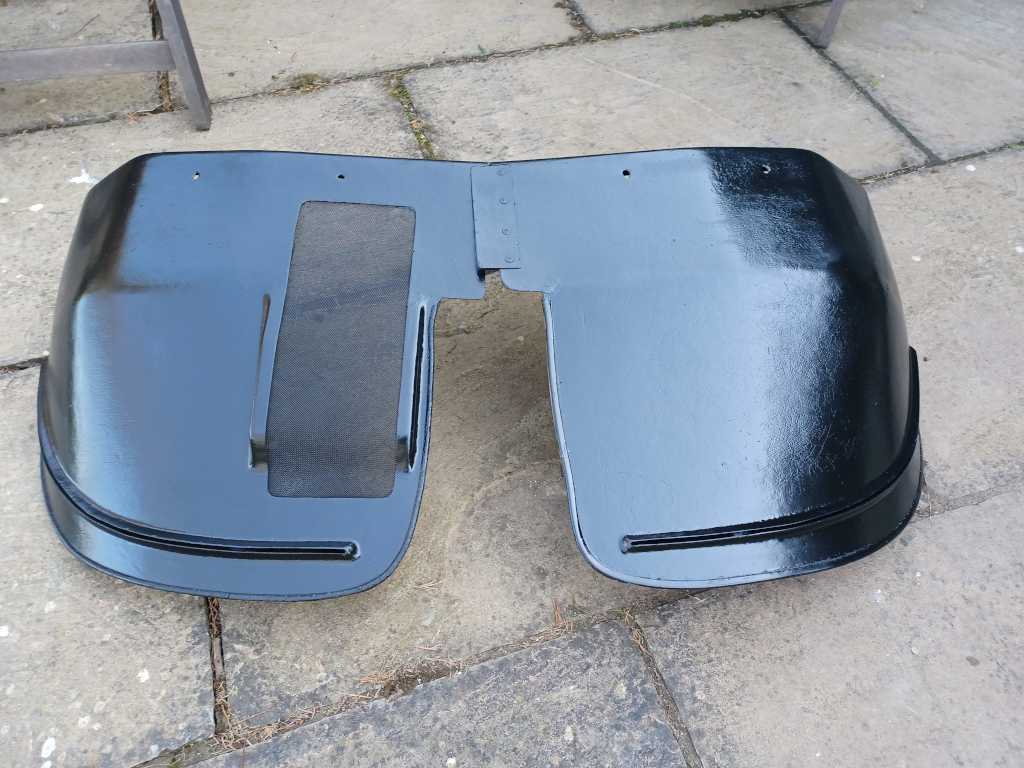
The cockpit instrument panel coaming has also received attention. This has been exposed to the sun for many years and the surface had started to crack and flake. This along with various bangs and scrapes over 37 years of operation had left them looking a bit worse for wear. So they were removed, rubbed down and filled before being repainted and refitted.
Work has also commenced on treating many areas of light corrosion on the underside of the wings. These have been cleaned back to bare metal, etched and primed and given a new layer of white primer. Once completed the work will transfer to the upper wing surfaces which also require attention. This is amuch larger job, not least because of the 50+ inspection panels! It is expected to take several months of work to complete which will allow the wings to be repainted with a new top coat of white paint.

That's all for this month.
Just a quick note to the DAS volunteers, if you don’t see your particular project mentioned in the Mutterings, please let me know what you are up to with some pictures and I will post your news in the next edition. Send your notes to kbrad1@hotmail.co.uk
Registered Charity No. 285809